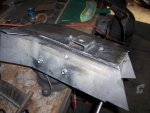
Build Thread Reviving "The Bruise" thread
kj 7
Jeeper
Ok. So, it's been a while since i've updated this thread yet again. My computer crapped out quite a while ago and didn't want to buy a new one. I've got a lot of good working pics on my digital camera that I'll upload eventually but my iphone pics will have to do for now (to prove I've made progress) .
.
I have been working on "The Bruise" though. Slowly but surely "The Bruise" has been healing.
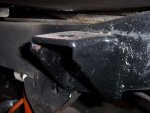
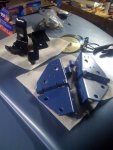
Windshield hinge and spare tire bracket and latch sanded and painted.
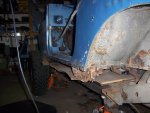
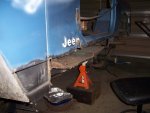
I then cut off the passenger side rocker.
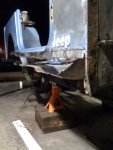
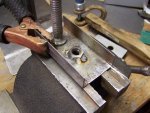
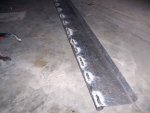
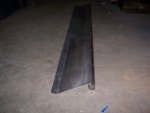
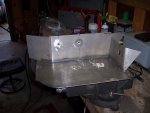
Then I bent these pieces at a 45 degree angle and welded some tubing at the bottom to use as a slider.
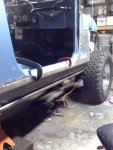
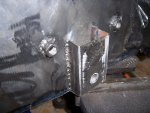
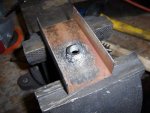
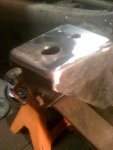
I also had to fix the body mount. This is a pic of the one I did on the driverside but the passenger side went the same.
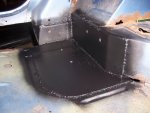
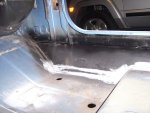
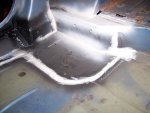
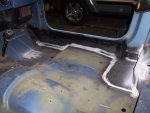
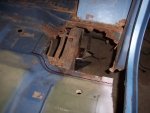
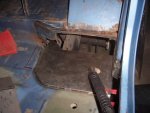
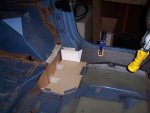
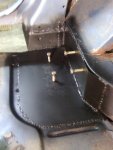
Before I welded on the new rockers I had to cut out a lot of rust from the rollbar tie in corner. This pic doesn't do it justice but was all I had on the iphone. I also capped off the top of portion with some new metal but didn't have a pic of it. All in all it came out slick.
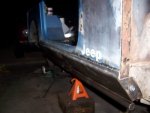
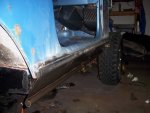
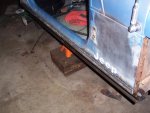
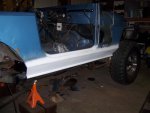
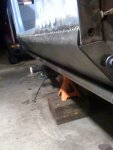
Once that corner was done, I closed it all up by welding the rockers on. 14 gauge steel plus a welded on tube slider ought to be plenty beefy
I'll post more pics of all that when I can upload my images to photobucket.
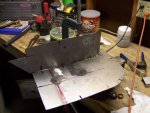
Then I had to move on to the fender. I had to weld on a 45 degree angle piece, same as the tub, in order for it to match up to the body and not look goofy.
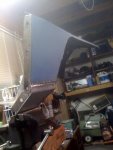
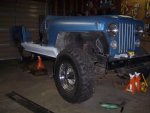
With a lot of adjustment it lined up great with hardly any seam.
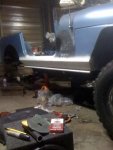
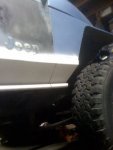
All of that took me about 6 months to complete with life getting in the way at every possible turn.
So, now I'm on the driver side. Got the corner boxed in, bodymount/hockey puck spacer on and getting ready to weld on the new rocker.
Trying to get as much done as I can before... baby controls every aspect of my life!
Any thoughts or questions?
 .
. I have been working on "The Bruise" though. Slowly but surely "The Bruise" has been healing.
Windshield hinge and spare tire bracket and latch sanded and painted.

I then cut off the passenger side rocker.

Then I bent these pieces at a 45 degree angle and welded some tubing at the bottom to use as a slider.

I also had to fix the body mount. This is a pic of the one I did on the driverside but the passenger side went the same.

Before I welded on the new rockers I had to cut out a lot of rust from the rollbar tie in corner. This pic doesn't do it justice but was all I had on the iphone. I also capped off the top of portion with some new metal but didn't have a pic of it. All in all it came out slick.

Once that corner was done, I closed it all up by welding the rockers on. 14 gauge steel plus a welded on tube slider ought to be plenty beefy


I'll post more pics of all that when I can upload my images to photobucket.
Then I had to move on to the fender. I had to weld on a 45 degree angle piece, same as the tub, in order for it to match up to the body and not look goofy.

With a lot of adjustment it lined up great with hardly any seam.


All of that took me about 6 months to complete with life getting in the way at every possible turn.
So, now I'm on the driver side. Got the corner boxed in, bodymount/hockey puck spacer on and getting ready to weld on the new rocker.
Trying to get as much done as I can before... baby controls every aspect of my life!
Any thoughts or questions?


