Build Thread 3rd time down the rabbit hole...
Project86
Old Time Jeeper
- Posts
- 1,080
- Thanks
- 46
- Location
- Tx Gulf Coast
- Vehicle(s)
- 1986 CJ 7 Blue
2004 Chevy LWB CC,
2012 Corvette Grand Sport
1986 CJ 7 Red Garnet
1978 CJ 7 Kinda Orangish
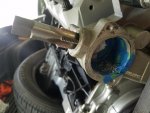
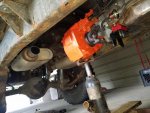
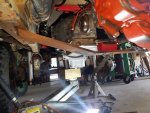
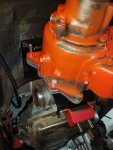
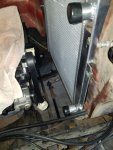
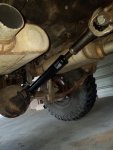
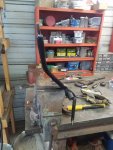
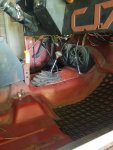
mocked up the transfer case and as I figured all the cleareances were gonna be tight. Garage tip for ya' if you are working on installing transfer cases use some line bolts to help hold that weight up until you can a bolt started. Tip 2 use a milk crate(or similar) to get the weight up closer to the transmission, so you don't have to lift off the floor.
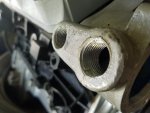
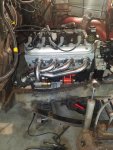
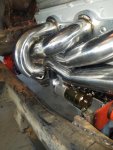
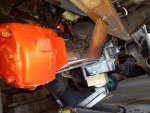
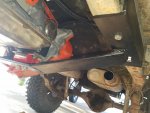
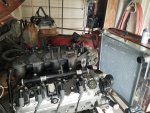
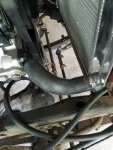
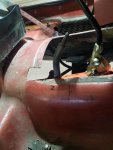
New/different header on pass side.
We use essential cookies to make this site work, and optional cookies to enhance your experience.
-->> CLICK HERE <<-- to see further information and configure your preferences.