|
DIFFERENCES IN 258 SHORT BLOCKS:
In 1981 AMC radically changed the
casting of the 258 block. Sure, they all look the same, but the
key differences are that AMC 258 blocks pre-1981 that have 1/2"
head bolt threads are much thicker casts than those from 81-86
with 7/16" head bolt threads. One could argue that a lighter
block equals better power. I agree, but this is a 50/50 street/offroad
application and I want the thicker casting. Besides, the 4.0L
head mates up to the block with 1/2" headbolts. You could use a
spacer kit for a block that's 7/16", but I want the best seal
possible and I want the better cooling aspects of a thicker cast
block. Therefore with that said, lets get to the machine work
happening on my 1987 258 shortblock.
|
|
MACHINE THE BLOCK:
There are many options regarding
machine shop services that you can do on your rebuild project.
I'll provide you a full list and make notes next to what I did and
why.
|
Service |
Description |
Yes/No |
| Disassemble Engine |
Shop takes your complete
motor and tears it down |
No |
| Clean Block |
This is also
called, "hot tanking" where they clean off the sludge,
grease, rust,etc |
Yes |
| Magnaflux |
The shop treats
the block with a charged magnetic powder and scans the block
under a black light looking for cracks that could
potentially reject the block as a rebuild candidate |
Yes |
| Rebore / Hone |
The cylinder
walls are bored slightly over stock, ranging from .030-060
of an inch. |
Yes |
| Cam bearings |
Installation of
camshaft bearings |
Yes |
| Freeze Plugs |
Installation of
freeze plugs |
Yes |
| Align Bore |
Machining of the
main bearing caps for proper alignment |
Yes |
| Resurface Block |
Also called
decking the block. Block is resurfaced to be perfectly
square. |
Yes |
| Piston R&R |
Recondition
piston rods and press the new pistons back on. |
Yes |
| Rod Recondition |
Piston rods are
hot tanked, magnafuxed and honed. |
Yes |
| Crankshaft grind
& polish |
The shop will
regrind and polish the crankshaft and journals to within 10
microinches or less. |
Yes |
| Magnaflux
Crankshaft |
Similar to
engine "magging", but done on the crankshaft. |
Yes |
| Clean &
Glassbead |
Glassbead and
clean the block and cylinder head |
No |
| Recondition
cylinder head |
Completely
teardown and rebuild cylinder head, valves, seats, guides,
springs, etc |
No |
| Balance the
engine |
Engine is
internally balanced using the flywheel, flexplate, pressure
plate and vibration dampener. |
Yes |
| Assembly |
Assemble the
complete short block |
Yes |
| |
|
|
|
|
|
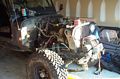
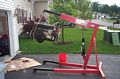
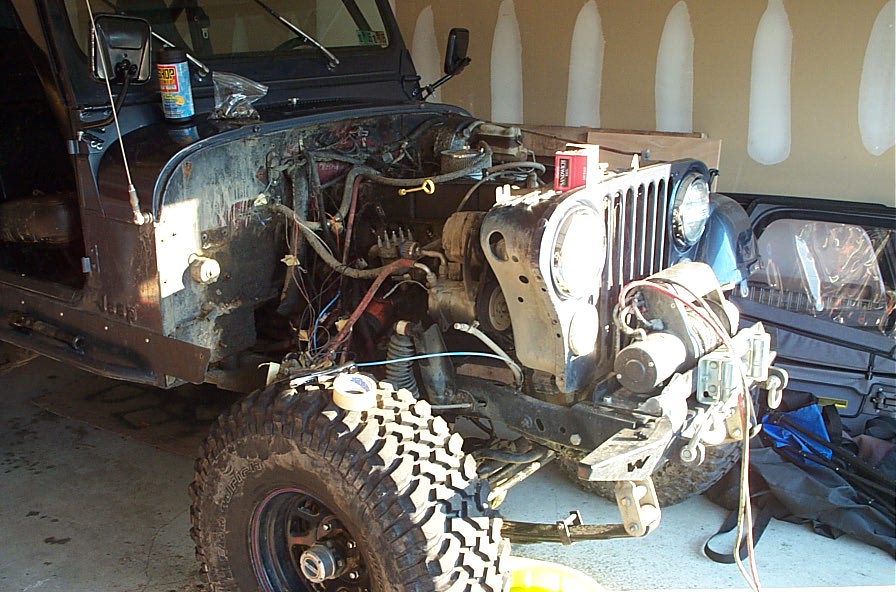
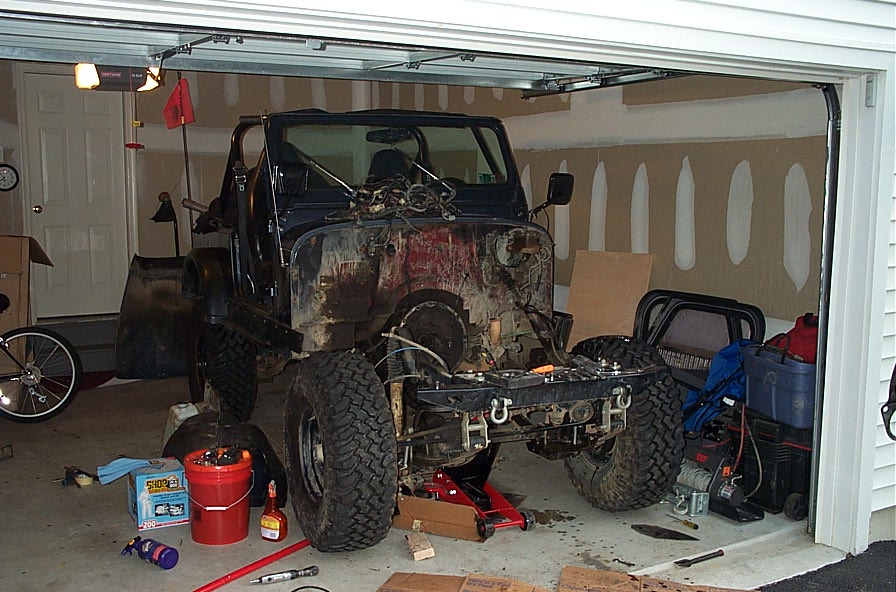
PREPPING TO PULL ENGINE:
The first thing you need to do
prior to pulling a motor is make it easy for yourself and have a
plan. To make life easier on myself, I removed the entire front
end; fenders, hood and grille. |
|
 |
|
Step two was to tape and label
everything in sight. This includes every wire, every hose, etc so
you can easily put things back where they belong. I also bagged
and tagged every bolt so I knew where they all went as well. You
really have to appreciate how filthy a tired engine can make your
engine bay look. This will be addressed prior to installing the
rebuilt motor. I would also strongly suggest taking pictures or
filming your disassembly because it will get complicated
remembering where everything goes. |
|
 |
|
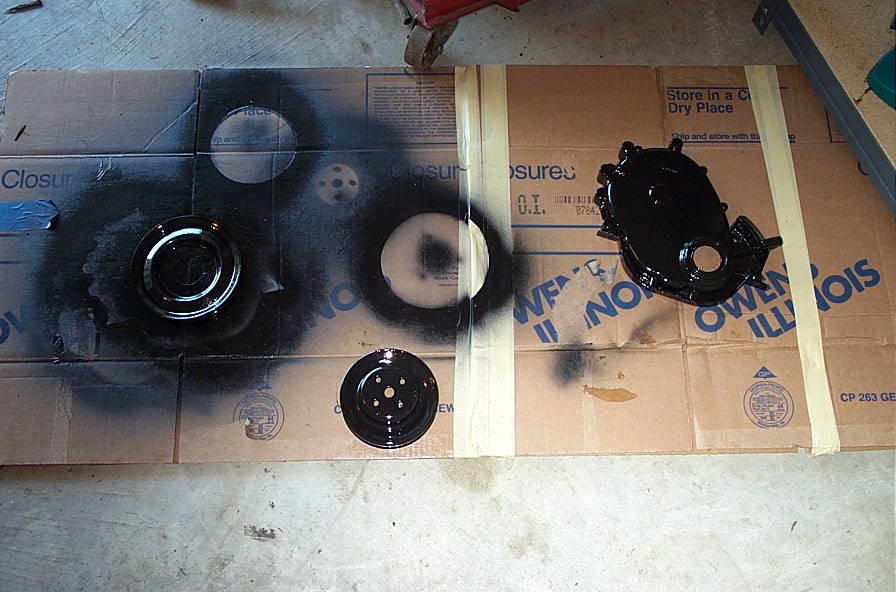
I also started cleaning and painting
accessory parts from the 1987 motor at the same time. |
|
 |
|
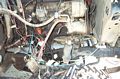
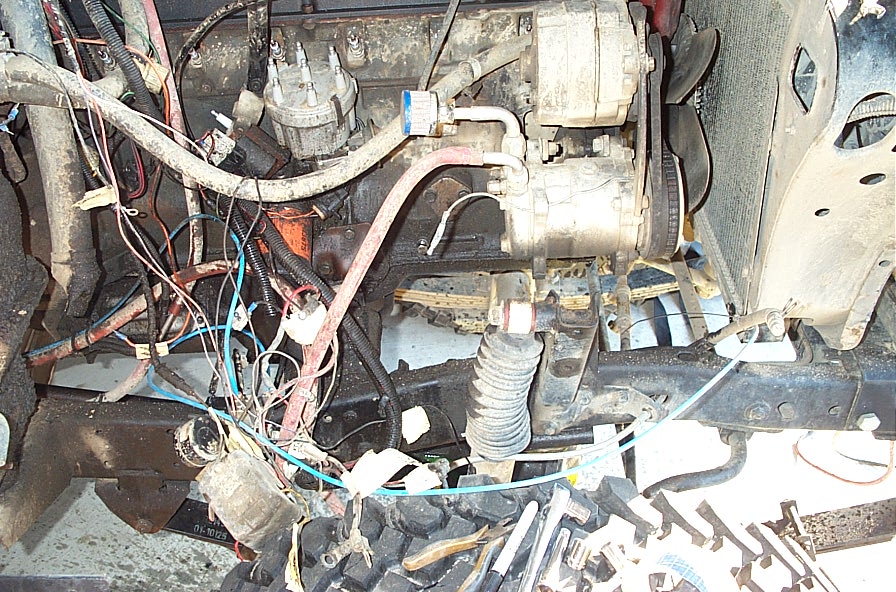
I completely removed the wiring
harness out of the way. Here's a pic of what it looked like after
a couple days of stripping things down. |
|
 |
|
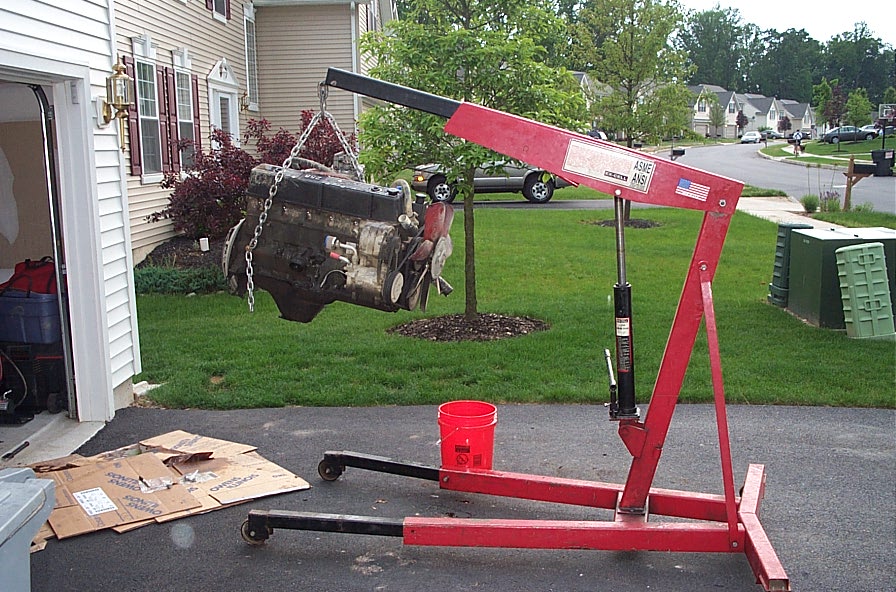
Pulling the engine wasn't as hard as I
thought it would be. I removed all of the bolts attaching the
bellhousing to the engine. There are a bunch of them and they are
different sizes. Two or three will require swivel socket heads to
get to. Make sure you disconnect everything. This would include
power steering lines and your throttle cable to the firewall.
When the bolts are out, the engine may fight you to separate from
the transmission. Rock it back and forth, lift it, lower it and
eventually it will pop loose and you can extract it. |
|
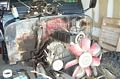
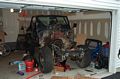
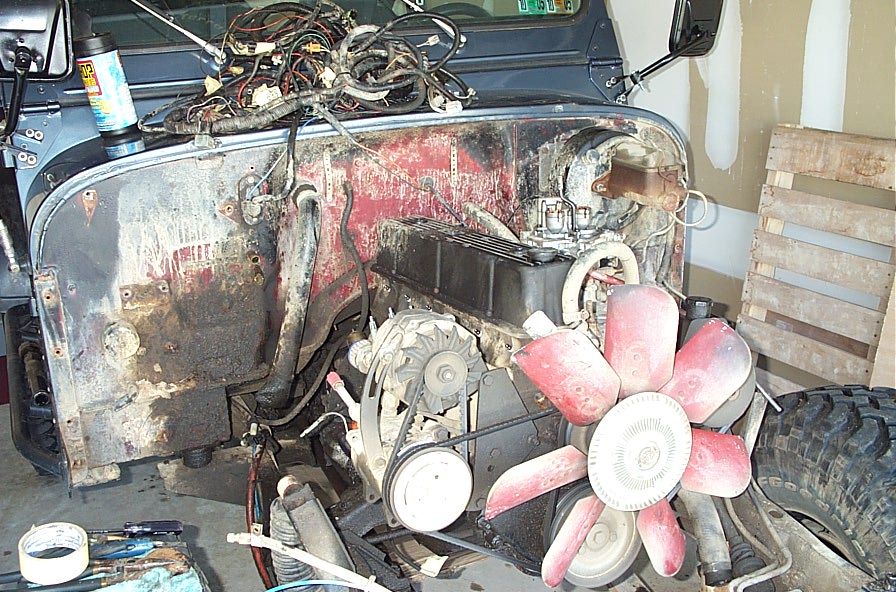
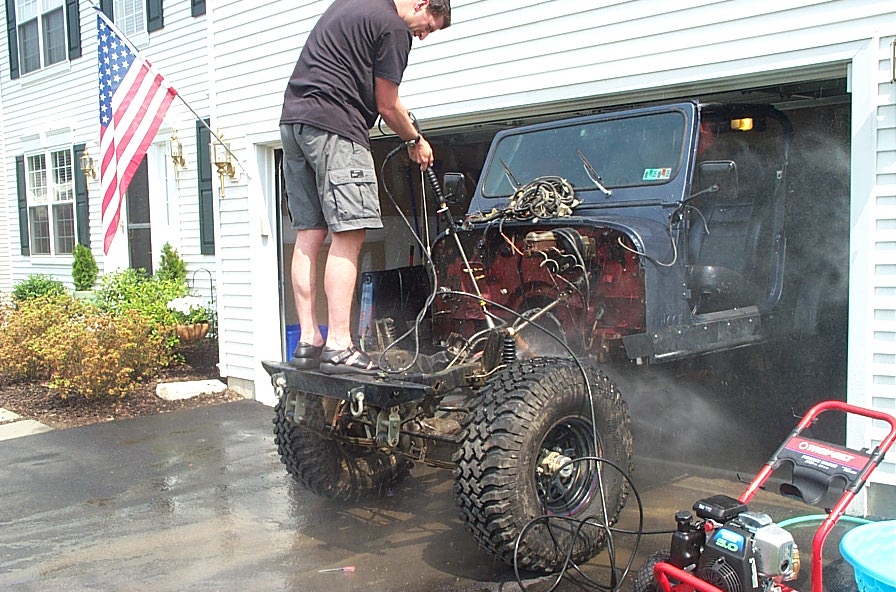
Looks nice eh? Hardly. What a mess!
I've decided I'm going to pressure wash the entire engine bay and
paint the firewall with POR-15. I placed the old motor on a wood
palette in the garage for now. |
|
 |
 |
|
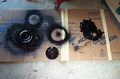
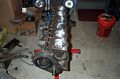
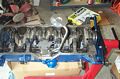
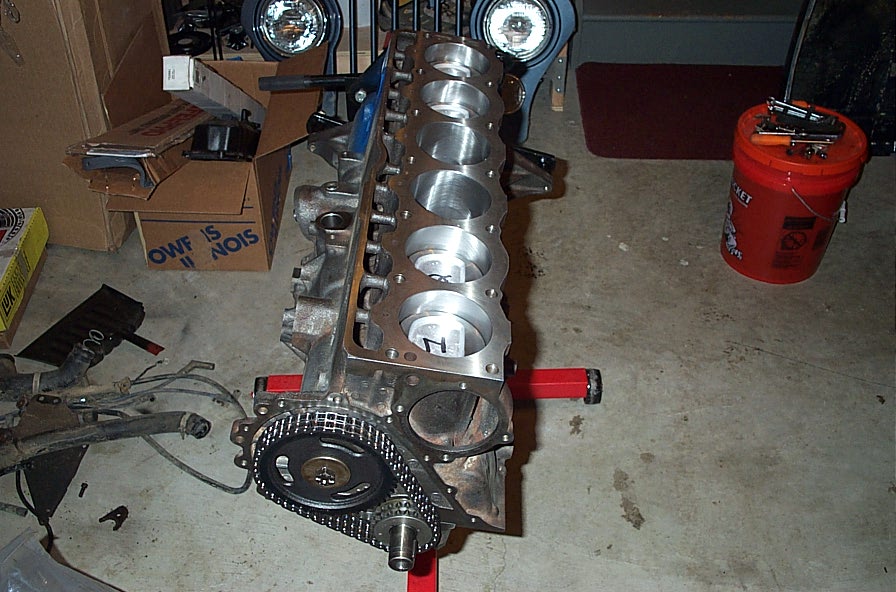
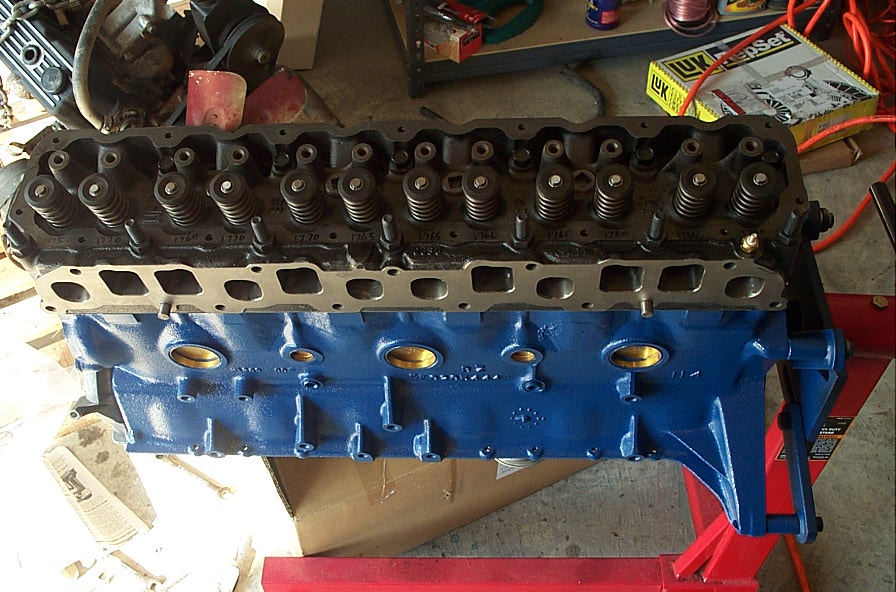
Here's the shortblock straight from
the machine shop. It's completely assembled and the timing chain
has been set and degreed with the camshaft. The Cloyes timing
chain allows degree-ing of the camshaft so everything is
synchronized perfectly. |
|
 |
|
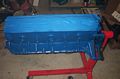
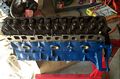
I taped off the block with masking
tape and painted it with high-temp enamel engine paint. You can
get it in different colors at any parts store. I'll give it 2 or
3 coats and move on to the assembly part. |
|
 |
|
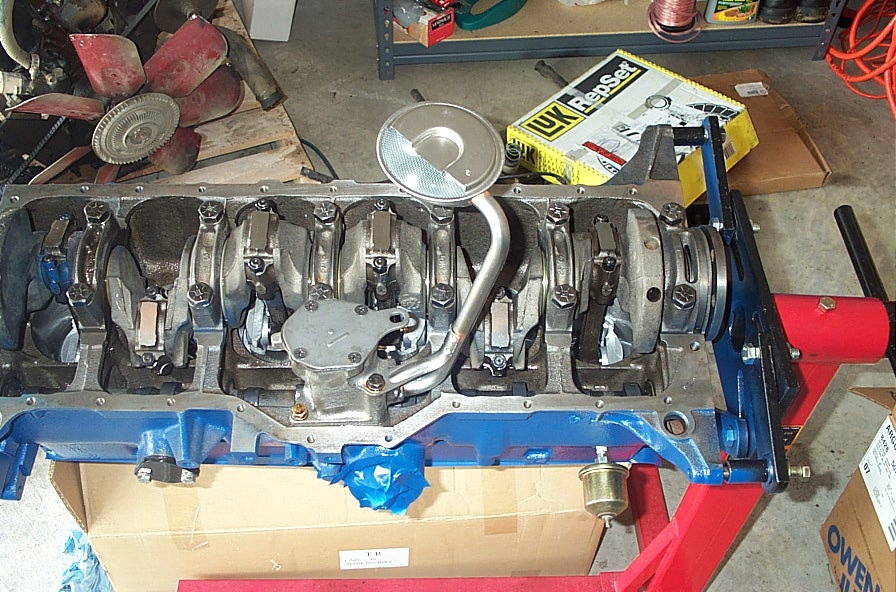
The machine shop setup and primed the
oil pump for me. They welded the pickup tube on as well. All I
had to do was install it. |
|
 |
|
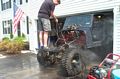
Don't mind the sandals... Here's the
fun part, pressure washing! I got some Grease Lightening
degreaser and went to town on the engine bay. Never really knew
the jeep was originally painted brick red. Next step is to POR
the entire engine bay. |
|
 |
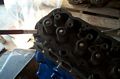
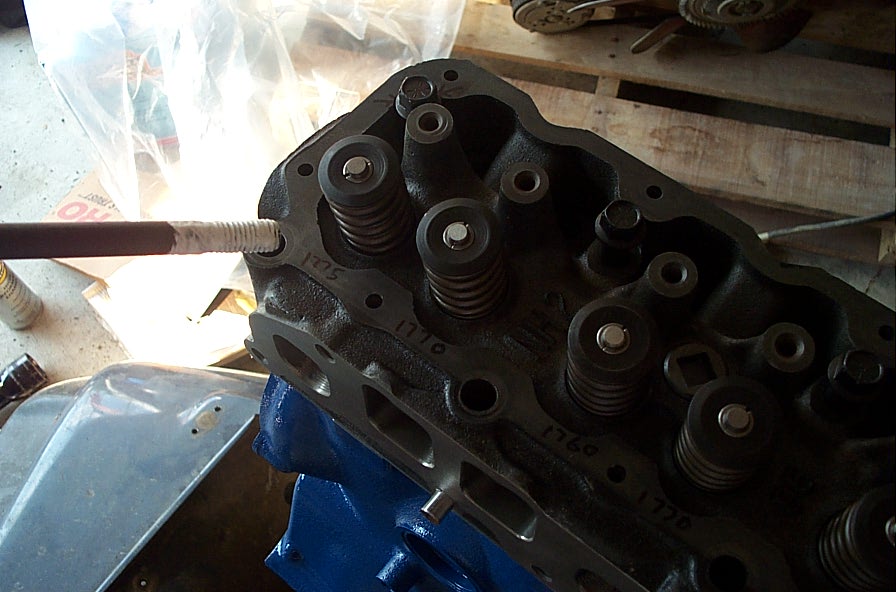
| I switched gears
after cleaning up the engine bay to drop the lifters in the block.
Coat the bottom and sides with a thin film of engine assembly lube and
drop all 12 in to their individual holes. |
|
|
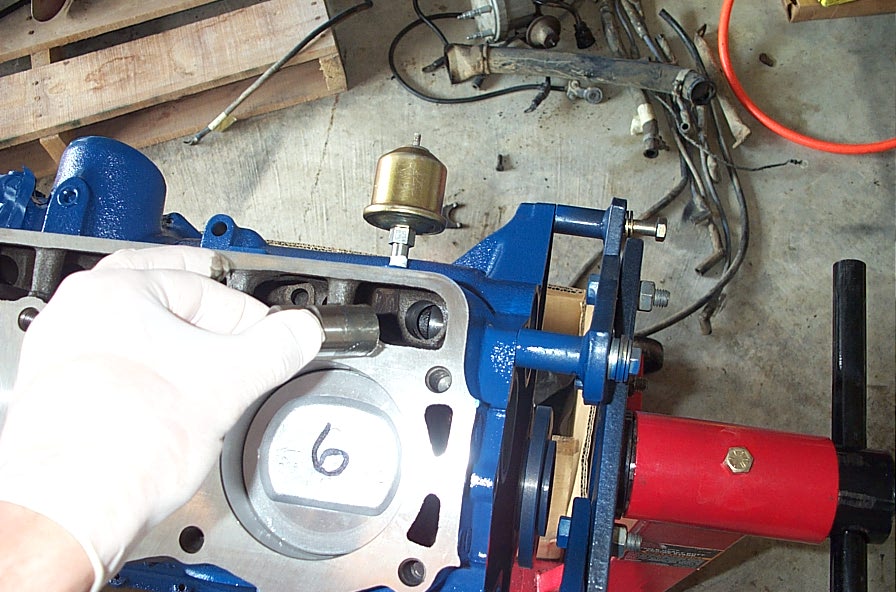
Clean up the surface of the head with
carb or brake cleaner to get any grease or engine lube off. You
should then hit the cylinders and lifter channels with compressed
air to get any dirt out. Place the head gasket on the head. The
gasket is marked "TOP" so you know what side faces up. Place the
head on top and thread your headbolts in. I coated all the
threads with a little oil prior to placing them in EXCEPT the #11
bolt which must be coated with White Thread Sealant so coolant
doesn't leak past it. |
|
 |
|
There's a specific torque sequence
that should be followed when tightening the headbolts. Here's a
link to what I'm referring to. Torque each bolt down to 22
ft/lbs first. Now go back and tighten them to 45 ft/lbs. Now on
the final sequence, tighten all of them (except #11) down to 110
ft/lbs. #11 headbolt can only be tightened to 100 ft/lbs due to
its position in the thinnest part of the head. I also screwed in
a new temperature sending unit (bottom right in pic). |
|
 |

