|
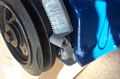
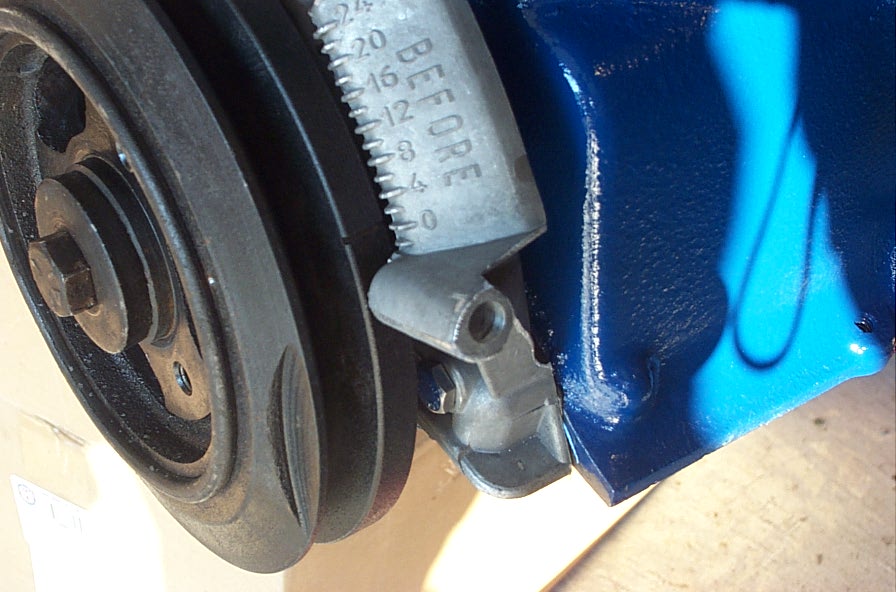
Install the timing cover and harmonic
balancer. Tighten the balancer to 80 ft/lbs. When it gets tight,
the crank will want to turn so go to the back of the motor and
stick a screwdriver in one of the flywheel holes on the crankshaft
to hold it. Now position the mark on the balancer to line up
with the "0" mark on the timing cover. We do this so cylinder 1 is
at "top dead center" or TDC. |
|
 |
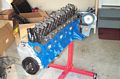
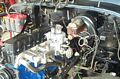
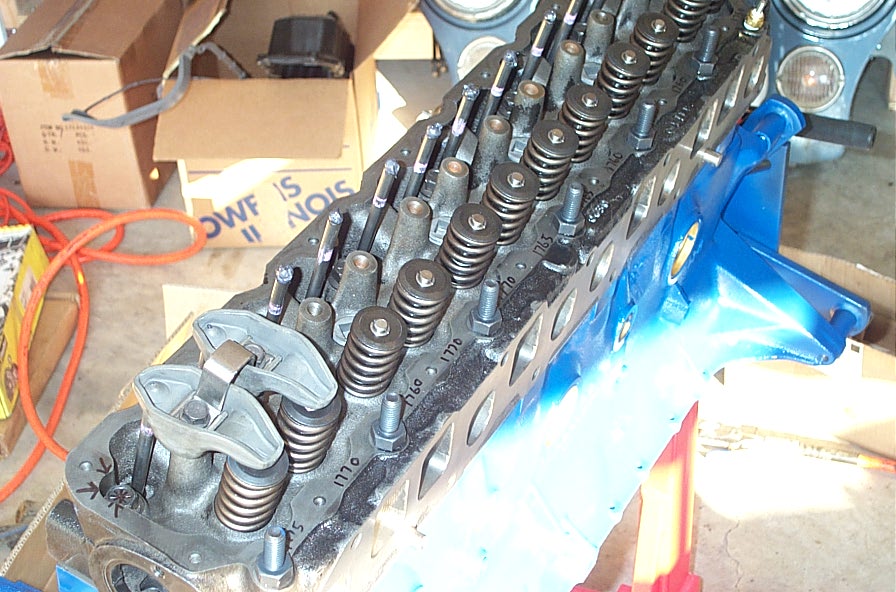
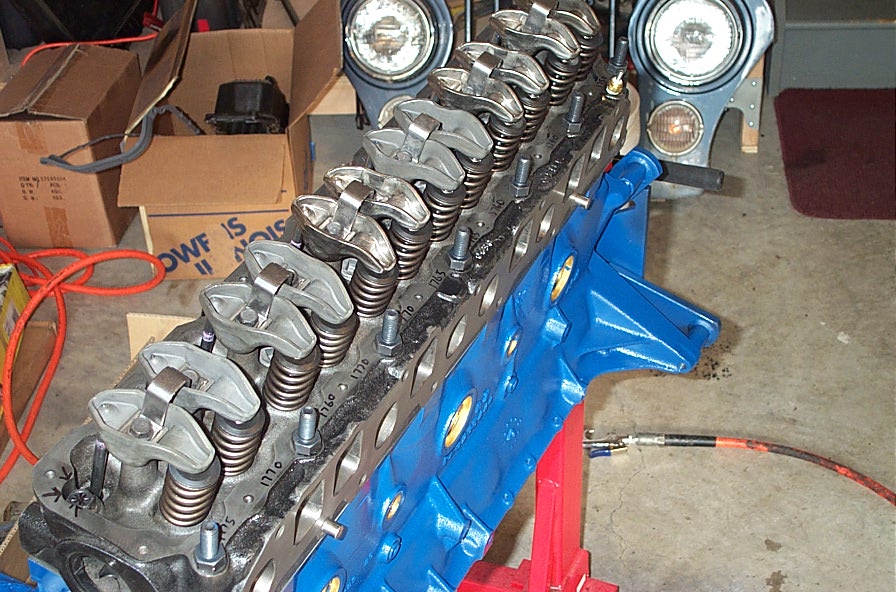
| Coat your pushrod
ends with some assembly lube and drop them in their respective holes
make sure they seat into their lifters. Place your rocker assemblies
on one at a time as shown and only finger tighten the bolts in each
for now. When all of them are on, tighten each bolt to 19 ft/lbs
each, alternating between each bolt so you don't break the bridge
between them. |
|
|
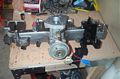
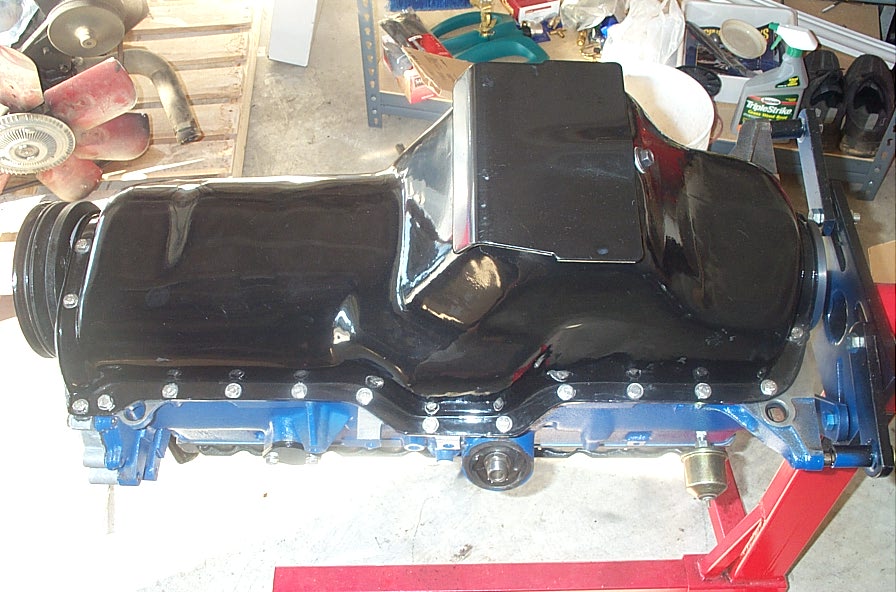
I then placed the balancer pulley on
and tightened the three bolts to 25 ft/lbs each. I also placed
the thermostat and thermostat cover on. |
|
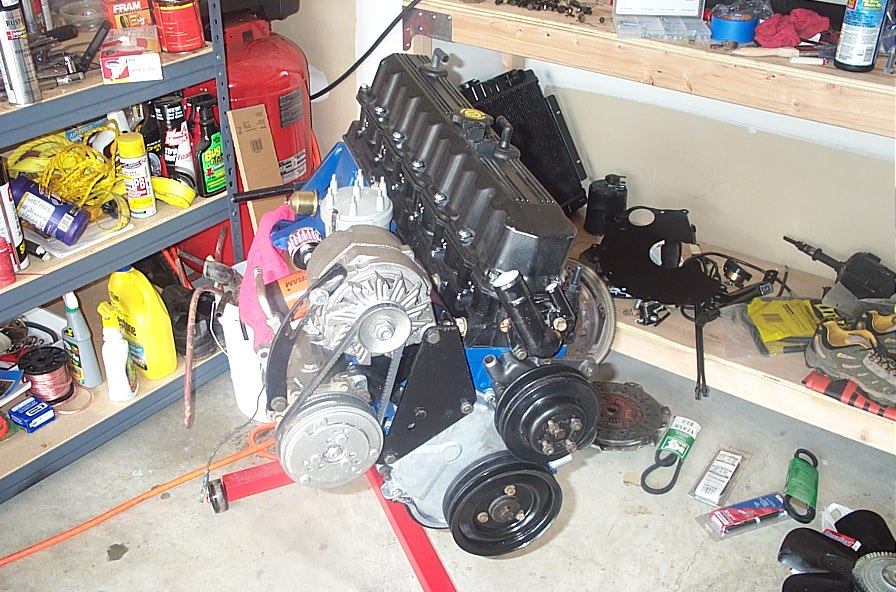
Today was spent pulling the
accessories off the old block, cleaning and painting them. I also
removed the old clutch and flywheel so I could get the inspection
plate off and paint it as well. While the paint was drying, I
put the valve cover on. Tighten each bolt to 7 ft/lbs except the
4 larger ones on the ends. These are torqued to 11 ft/lbs. |
|
 |
 |
|
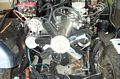
Here's a shot of my intake manifold
cleaned and painted. I also cleaned the Howell throttle assembly
while I did this. |
|
Well all the accessories are back on.
I'm so glad I took pictures of the old setup because my jeep has a
bunch of non-stock brackets holding everything on and it would
have been crazy trying to figure out how to put everything back
correctly. I also put the valve cover and fan pulley on. |
|
 |
 |
|
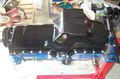
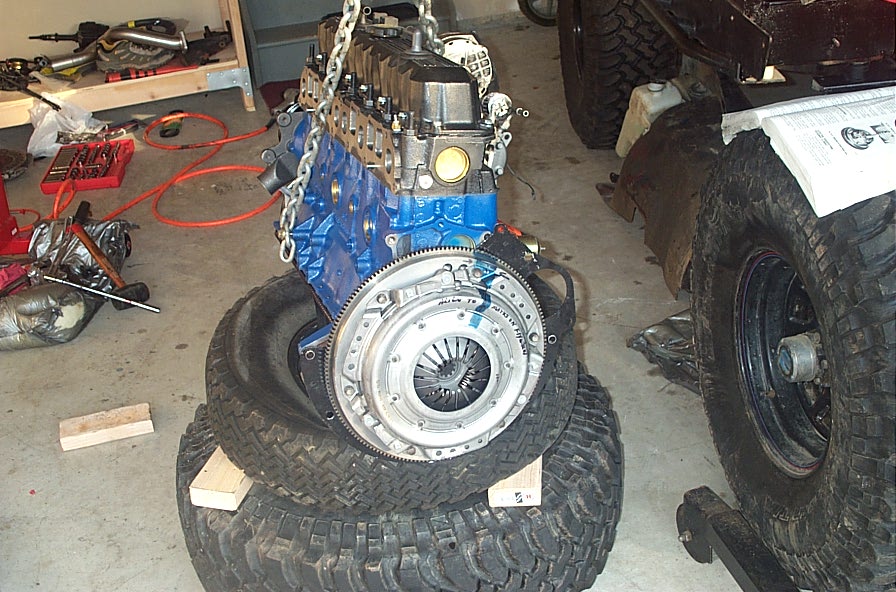
The Luk clutch kit that I bought has
everything you need for the job. Pressure plate, clutch housing,
pilot bushing, throwout bearing and an alignment tool. You can
see here that we needed to rest it on something so it wouldn't
spin on us while we torqued the flywheel and clutch housing
bolts.
First thing is to put your
inspection cover on and then put the flywheel back on and torque
the 6 bolts to the crankshaft to 105 ft/lbs. I went 45, 75 and
then 105 in a cross pattern just to evenly tighten them. I then
put the pilot bushing in using the alignment tool to knock it in
and then soaked the pilot bushing wick with oil and stuffed that
through the center of the pilot bushing. If you don't have the
wick, use a piece of an old t-shirt; same principal.
Next put the pressure plate and
housing on and torque those bolts to 40 ft/lbs. Notice the blue
mark the machine shop made when they balanced everything. They
wanted the clutch and flywheel positioned the way they took them
off at their shop after balancing.
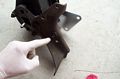
We then put the new throwout
bearing on the clutch fork. There's a little pivot ball that may
fall out from the clutch fork. Put some grease on it and it will
stay in place on the small tube behind the fork.
|
|
 |
|
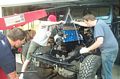
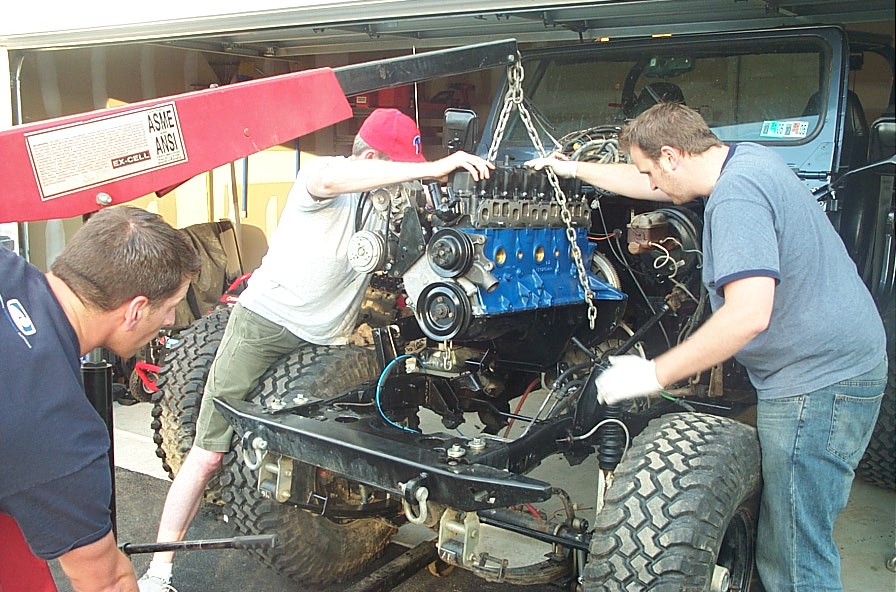
Here we are adjusting the chain on the
lift so that it's attached to bolts on opposite ends of each side
of the motor. This will level out the motor and make it easier to
put in the jeep. You simply can't do this job by yourself and we
feel that 3 people working the engine into the jeep was essential. |
|
This was a real effort, I won't lie to
you. It's a matter of working the motor up and down, side to side
until you mate it to the input shaft of your transmission. We
jacked the tranny up a little with a floor jack and some boards to
help. Grease the input shaft of the transmission to aid in this
process. Eventually it will go in and then it's just a matter of
bolting it to the motor mounts and bellhousing. |
|
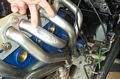
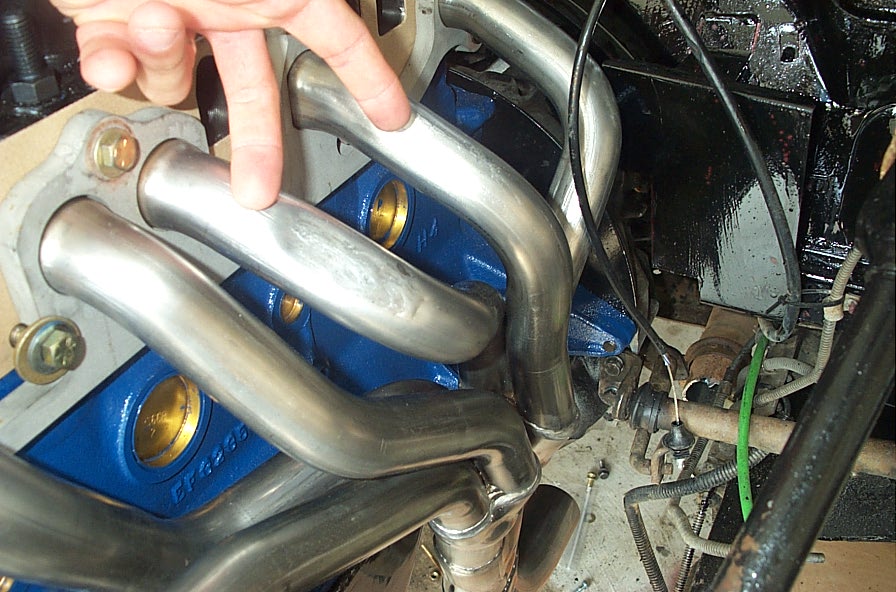
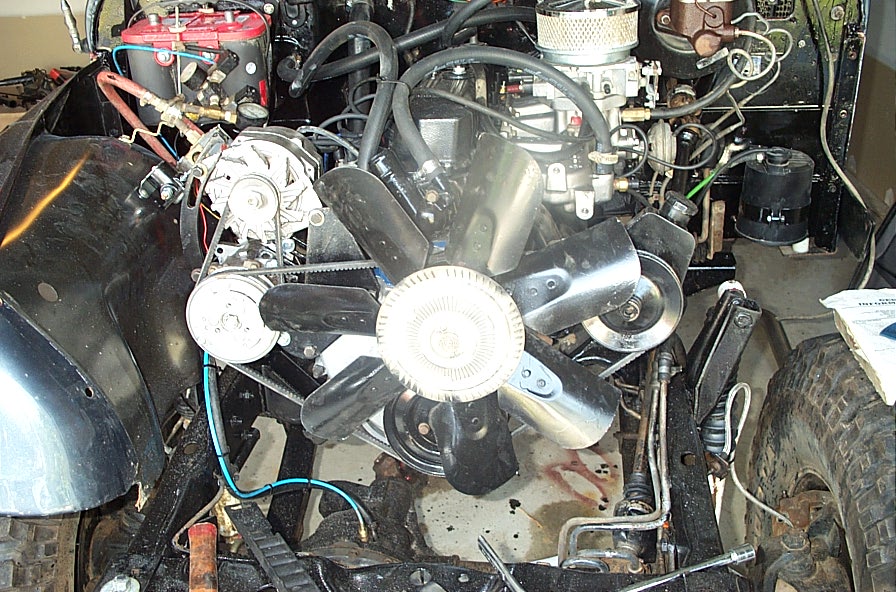
Ok now I told you I was going with a
Borla exhaust header right? Well if you go with a 4.0 exhaust
header, odds are that the #4 and #5 header pipes are going to
prevent the 4.2 intake manifold from seating properly. So I had
to get medieval on it and dent both pipes slightly with a
hammer.
Besides that little rig, you'll
need to grind a little aluminum off the bottom of the intake
manifold where it would touch on the #4 and #5 exhaust pipe. Do
the least amount of grinding and denting that is required to get
the intake to mount flush on to the head. |
|
 |
 |
 |
|
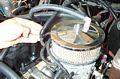
The 4.0L heads use a single gasket
unlike the 4.2L which have a separate exhaust and intake gasket
overlapping one another. Torque each bolt to 25 ft/lbs. There
is a
sequence you need to follow when tightening these bolts. |
|
Today was spent hooking up all the
vacuum lines, heater hoses and emissions lines. Here's where our
next problem arose. The PCV valve on a late model 4.0L is in the
intake manifold, not the first hole in the valve cover. So pull
out the existing 4.0L grommet and replace with one from a Ford. I
found mine at PepBoys. The packaging is red with big letters on
the front that say, "HELP!"...no kidding... I have no clue why,
but it sure helped me!! Model # 42325. |
|
 |
 |
|
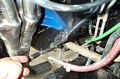
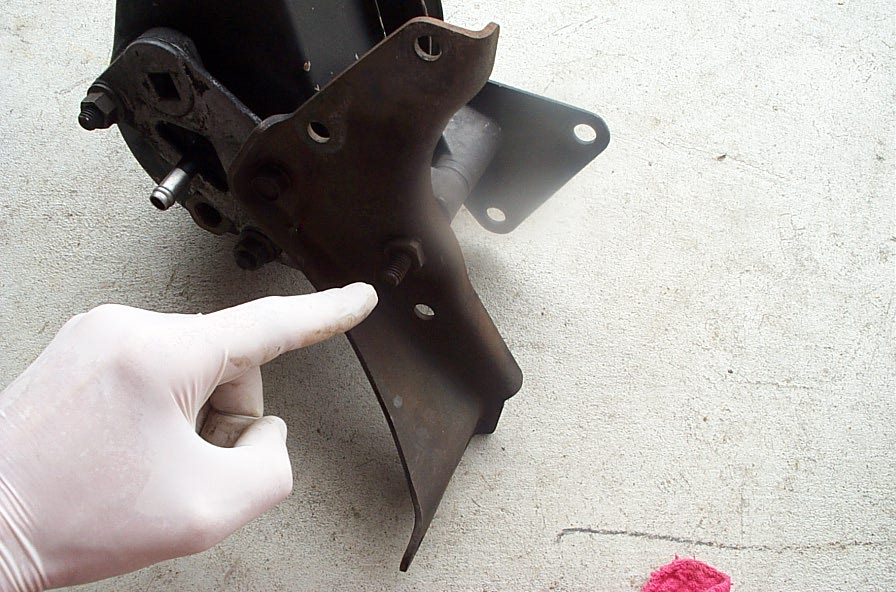
The power steering brackets will not
fit if you go the route of a header. The bracket that holds the
steering pump on the block will not clear and the aluminum holding
pieces will not clear cylinder #1's pipe. I spent hours fiddling
around and had no recourse but to ditch the piece holding it to
the block and then start grinding down the aluminum bracket as
well. |
|
Eventually I was able to "rig" it
using the long bolt that attached the pump to the water pump
bracket (triangular shaped). I used a brass fitting to hold it on
the other side with a washer and a nut. I took the flimsy
triangle piece and had a friend fabricate an exact copy but in
1/4" steel. Worked perfectly. Another thing that sucked was
the 6 trips to Autozone to find a belt that would work. I'll save
you the trouble the belt # is 17455. |
|
 |
 |
|
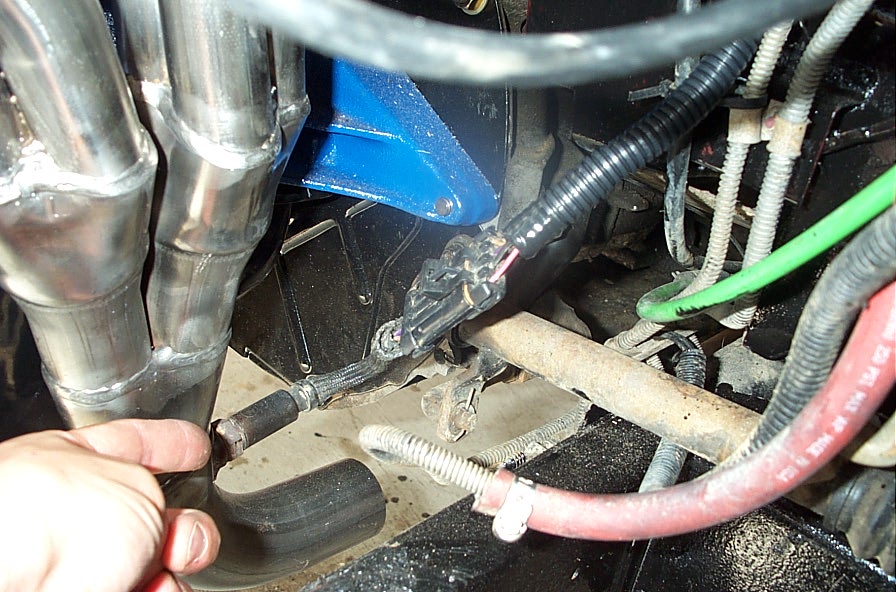
If you use a header and especially a
Borla one, you'll find the O2 sensor bunge is located further away
from where the stock manifold had it located. It's down on the
low end of the collector. So you'll need to splice extensions
for the wires from the O2 sensor to where it connects in the
harness. I run a Howell TBI injection system, so I had 4 wires to
extend. |
|
 |
 |
|
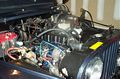
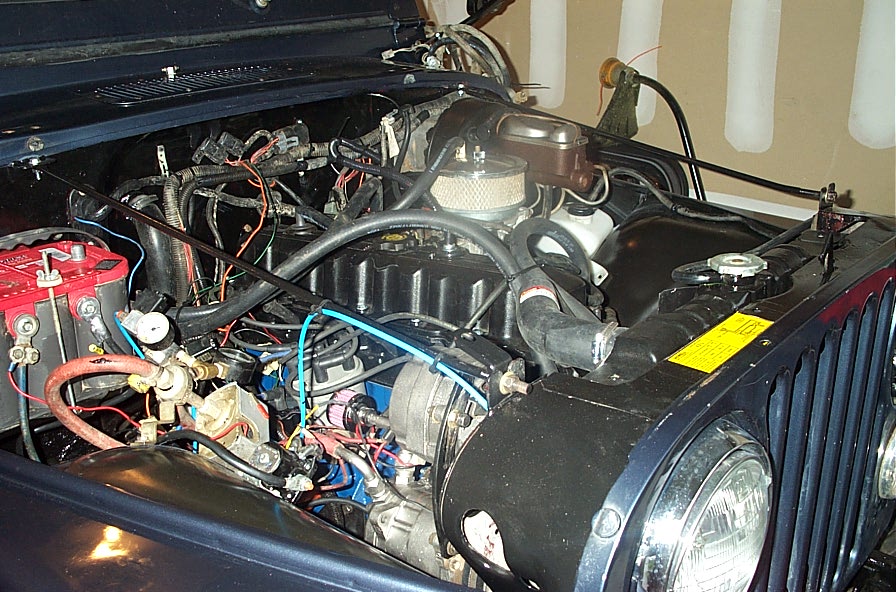
Here's the finished product ready for
first firing. Let's talk about that in detail. I'll break down
what I did to get it to fire on the first turn of the key.
a) Pull distributor out and prime
the oil pump by using a drill and the end of a fat screwdriver. I
hacked the handle off of one and then stuck it in the groove of
the oil pump down the distributor hole. Let it turn until it
resists. You've now primed the oil pump and most of the moving
parts in the engine.
b) Pull #1 spark plug out and have
a buddy place a finger in the hole. Turn the crankshaft pulley
with a socket wrench until your friend feels compression forcing
his finger out of the hole. Now turn the crank until the timing
mark on the crankshaft pulley is on "0" on the timing marks. You
are now TDC (Top Dead Center) on #1 piston.
c) Place the distributor in and
rotate the rotor so it's pointing at the #1 wire on the
distributor cap. Now you're ready to fire on #1.
d) Turn key....If you have spark
and gas, it'll fire up. Adjust timing appropriately and you're
done. |
|
 |
|
THE RESULTS: (updated 7/22/2006)
Over the last year I made two
discoveries. The first was that the Howell ECM needed to be
tuned because it was originally configured for a 4.2 stock engine.
I used software called WinALDL and hooked up my computer to the
diagnostic port of the computer. I then sent the BLM (Block
Learn) numbers to Howell Engineering and they burned a new chip to
alter the fuel curve for me.
The second thing I found out was that
the little, steel tab that your throttle cable goes into on your
intake manifold was bent down 1/4". This was robbing me of 25%
of my horsepower and I never knew it.
Combining these two fixes gave me an
engine that when I hit the gas, the jeep takes off!! I can
without a doubt tell you that I'm experiencing impressive horsepower
gains over the stock 4.2/258.
I can't really vouch for fuel economy
because I run 4.56 gears with 35" tires. If I'm getting 12mpg
I'd be impressed. This isn't about fuel economy for me.
|
|
|
LESSONS LEARNED: |
|
1) Buy an engine master rebuild kit
instead of piecemealing parts and gaskets. |
|
2) Label every hose and wire. I did
this and still managed to miss one which caused me grief. |
|
3) Bag and tag every bolt. So
important. |
|
4) Go to Lowes and buy a mixed
assortment box of bolts, nuts and washers. Very handy. |
|
5) Buy oil, oil filter, coolant, air
filter and power steering fluid ahead of time. |
|
6) A clutch kit comes with a throwout
bearing and pilot bushing...didn't know that. |
|
7) The 4.2 intake requires bending
some of the exhaust header tubes to make it fit. If you have a
vacuum leak, odds are that's where it is...that's where mine was
:-) I heard after this project that Offenhauser intakes work
better and so do 1985 and 1986 CJ 4.2 intakes because they are
thicker and you can grind away at the intake tubes instead of
denting your header. |
|
8) Put the inspection plate on before
the flywheel and clutch. |
|
|
|
|
|


