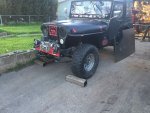
Build Thread Jr's 74 CJ5 "fix" and build as I go...

Build Thread Jr's 74 CJ5 "fix" and build as I go...
Looks good!
I bought the same kit
Will start working on the inner fender soon as well.

Yours looks much better. We haven't finished mine yet but didn't take the time to adjust and get the rouded edges perfect on mine... We had the fender plate more on top of the round frame than even with it to weld smooth. The gap between the hood and fenders was looking too large otherwise.

I still like mine though, and I'll get them looking better. The function of having the added clearance though is really what I was after. Looks are cool, but let's face it - my paint job is rustoleum sponsored... (Rattle Canned) :D
 
Thanks, I was concerned with the gap between the hood a fender as well. If I make my own inners I'll reuse the stock fender water deflector to fill the gap, or just use the stock inner fenders.
 
I'm thinking of putting a deflector (sound like star wars talk... yes I'm a geek...) on each of them too - only time will tell though...

I think I will custom fab the inner from sheet metal so I can maximize the coverage and clearances inside the fender-wells.

I still have a 1" body lift in, so the old fenders never really "sealed" the engine compartment from tire-sling. I just pressure-washed a lot of mud out of my fuse-box mounted on my firewall by the brake master cylinder...

Either way though, looking forward to being back on the road again...

:chug:
 
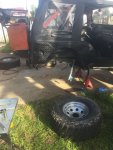
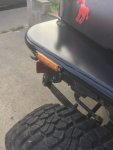
ARB's installed and fender tops and frames done. Still need to do the internals.

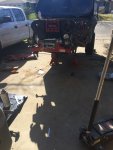
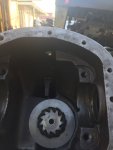
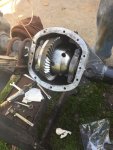
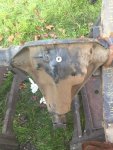
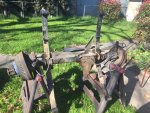
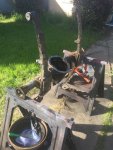
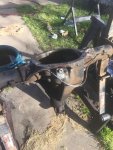
Upgraded the axles in front and read end while I was at it.

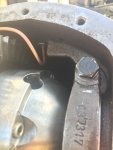
Fixed pinion seal in rear - Although I think my driveshaft doesn't have enough slack in it when full droop, so may be doing that again until I get the driveshaft redone again (this would be attempt #4... - long story...)

Here's some pics:

IMG_2173_zpsnisfakcl.jpg

IMG_2182_zps9ilxh15p.jpg

IMG_2183_zpspacuibnm.jpg

IMG_2179_zps5rwq8g6j.jpg

IMG_2176_zpsy4mp9ivg.jpg

IMG_2190_zpso0mjypis.jpg

IMG_2246_zps1tsb025z.jpg

IMG_2247_zpsue77fru3.jpg

IMG_2248_zpsvkukcmun.jpg

Little rough on the seam, but painted looks fine for me!

IMG_2252_zps2cf7jjs9.jpg

More to come...

:chug:
 
Nice! :chug:
 
Posi - you do anymore on your inner fenders?
 
Posi - you do anymore on your inner fenders?
I made a cardboard template for the driver side inner fender, and was ready to start cutting sheetmetal then decided not to go that route. I went to the pickup pull and grabbed 2 front fenders off a 79. The outside were rusted, but the inners were in very good shape, paid $10 for the set. I trimmed both outer fenders off now have to fit them.
 
ARBs yummy, always weirds me out seeing the air line so close to the ring gear teeth, but you dont hear about any getting caught
 
always weirds me out seeing the air line so close to the ring gear teeth, but you dont hear about any getting caught

I said the same thing... and apparently you don't want it setting directly against the case too, forcing you to route the line closer to the teeth still...

Can't wait to test them out on a hard part of the trail...

First time I've ever had select-able lockers.
 
I biggest deal with ARB is dealing with internal seal leakage. I stopped installing them for that reason.
On your compressor-Be sure to run a 'dryer' on the feed line to the diff. That will reduce the condensation pushed into the diff.
LG
 
I have had a front ARB for many years now and it still works great. It works really good up on the Moab trails where a lot of turning gets done on rock. I did recently have to replace the push button switch as it was full of dirt. Installing some sort of water drain on any compressed air system is always good weather it be arb or onboard air. The arb compressor does have a outlet port that you can install a quick disconnect for draining water and even getting a little compressed air. I do remember hearing about those air seals giving out, but I thought that issue was fixed awhile ago. I have also heard about guys having problems with that blue air line giving out. I have mine covered with 3/8" electrical split loom to protect it from the elements. It can be replaced with stainless brake hose also. You are really getting a lot of stuff done there JR, hope your Colorado plans work out.
 
Last edited:
Thanks buddy - Yeah Colorado is happening, time off all done and RV spot paid for.

The ARB's should serve me well. You're right with my style compressor, there is a few built in places I can conveniently hook up dryer / separators.

I also ran all the "blue" air line through electrical sleeve to protect it. It's tucked up real nice so will hopefully remain intact through my rocky endeavors... :D

:chug:
 
Re:

IMG_1026_zpse3b0d081.jpg

what are you going to do with 9 switches. I have 4 and have not found a need for 3 of them.:D

IO - I'm finally using 2 more of those switches!

I now use 7 out of 8 - the 8th is for the still way in the future electic fan upgrade so I can kill it when I want to cross deep water...

:cool:
 
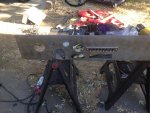
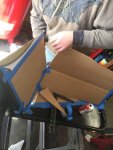
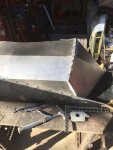
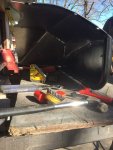
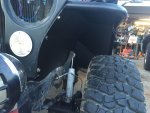
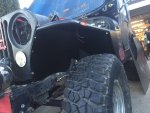
This weekend I worked on the front inner fenders. Saturday I tried cutting out cardboard to make it work but got frustrated, so I cut my old fender apart and didn't like it so packed stuff up and went home... lol

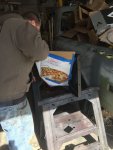
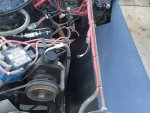
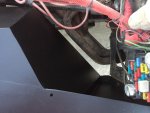
Next day my brother and I looked at it together and got a plan and template built for the drivers side. We got it all taken care of. See photos below.

We (for some strange reason) thought that we could just cut and opposite bend the parts again front the passenger side - should have known... However, after some additional customization, the passenger side is now all ready to cut one more sheet metal piece and weld up and paint.

:chug:

We had to start by cutting off the bend in the new flat tube fender top. This was maybe for extreme crawlers that don't want inner fenders...

IMG_2280_zpscxkbkasy.jpg (photo is the passenger side)

Then we started on the cardboard again...

IMG_2265_zpsru5uhgdp.jpg

IMG_2264_zpsmlkh127h.jpg

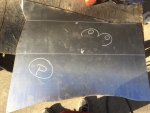
We then cut out some sheet metal - 14 gauge steel. My cousin got away with the silver sharpie... drew some eyes on my fenders... :cool:

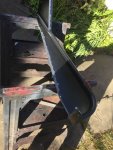
This was one piece, bent twice for the main portion of the inner fender from grill back.

IMG_2282_zpspzujjicb.jpg

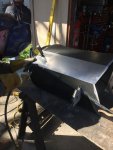
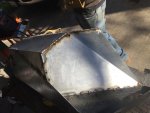
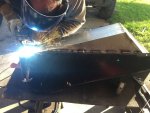
Then we started on welding together.

IMG_2269_zpsvte0okyg.jpg

Added the second single bend piece for enclosing the "depth" while missing the headers and steering shaft etc.

IMG_2270_zpsjkxc1qeq.jpg

From inside

IMG_2271_zpsocxa1rbo.jpg

Few stiches

IMG_2274_zpsclqmqx38.jpg

IMG_2276_zpsbeevdmnx.jpg

Then after some grinding and a few coats of paint, here we are...

IMG_2284_zpslwwxuggr.jpg

IMG_2285_zpsvuifhjap.jpg

IMG_2286_zps10vrj4kf.jpg

IMG_2287_zpsbhcztsd7.jpg

IMG_2288_zpsgxo2r0sy.jpg

Will post some photos of the passenger done soon - then widshield wiper linkage replacement, Tow Bar install, and we'll be closer to finishing this stage of my "build and fix as I go".

:chug::chug::chug:
 
NICE! :notworthy:
May I ask what welder you are using?
:chug:
LG
 
Really like that welder, as you can choose either 115vac or 230vac by switching the tip of the electrical plug.
LG
 
Can't see the pics, but I'm sure it's done well.

Yeah Colorado is happening, time off all done and RV spot paid for.
and great on this! :chug:
 

Jeep-CJ Donation Drive

Help support Jeep-CJ.com by making a donation.

Help support Jeep-CJ.com by making a donation.
Goal
$200.00
Earned
$10.00
This donation drive ends in
Back
Top Bottom
AdBlock Detected

I get it, I'm a Jeep owner and ad-block detectors kinda stink but ads are needed on this site. This is a CJ site, all the ads are set for autos (some times others get through.) I cannot make them just for Jeeps but I try.

Please allow ads as they help keep this site running by offsetting the costs of software and server fees.
Clicking on No Thanks will temporarily disable this message.
I've Disabled AdBlock    No Thanks